Making your own cocktails at home doesn’t have to be expensive, and you don’t need a ridiculous amount of equipment to be able to make a good chunk of classics and some creations of your own. We thought we’d put together a quick list of everything you’ll need, why you need them and what you can use them for.
A cheap cocktail set might only cost you £20, and is a great way to introduce yourself to cocktail making. As with most things you do get what you pay ofr, and you develop your skills and cocktail range you'll possibly want to start upgrading the quality of key items.
1. Jigger
Also called a bar jigger or pyramid jigger, this item comes in an hour glass shape with one half being a smaller measurement, and the other a larger one. If buying from the UK, the measurements will usually be 25ml and 50ml, but you can also get a jigger that has incremental measurements on the inside as many cocktails require 40ml, 30ml and 20ml of liquid being used.
The jigger is useful as it is a quick and accurate way of measuring the quantities of liquid being used. This is especially true when being used in conjunction with a pour spout, which helps control the flow of your spirit. When using it, be sure to hold the jigger above the shaker, and just inside the rim. When pouring in, just simply tip it in, aiming for the center of the shaker.
2. Pour Spout
Many cocktail sets will include and they're attachments that fit into the top of the bottle, and contain a thin nozzle for the liquid to pour through, with an air hole in it to stop bubbles when pouring. Stopping bubbles is important as it ensures a smooth, continuous flow of liquid.
Pour spouts are also useful as they help to direct liquid, as well as ensure a consistent flow speed. As a result of this, they help pour drinks quicker when free pouring, and are also useful when using jiggers. They also help with cleanliness, as you are much less likely to spill your spirit with them. You can also really slow the flow speed by covering the air hole, which is useful when floating spirits and liqueurs on top of your cocktail.
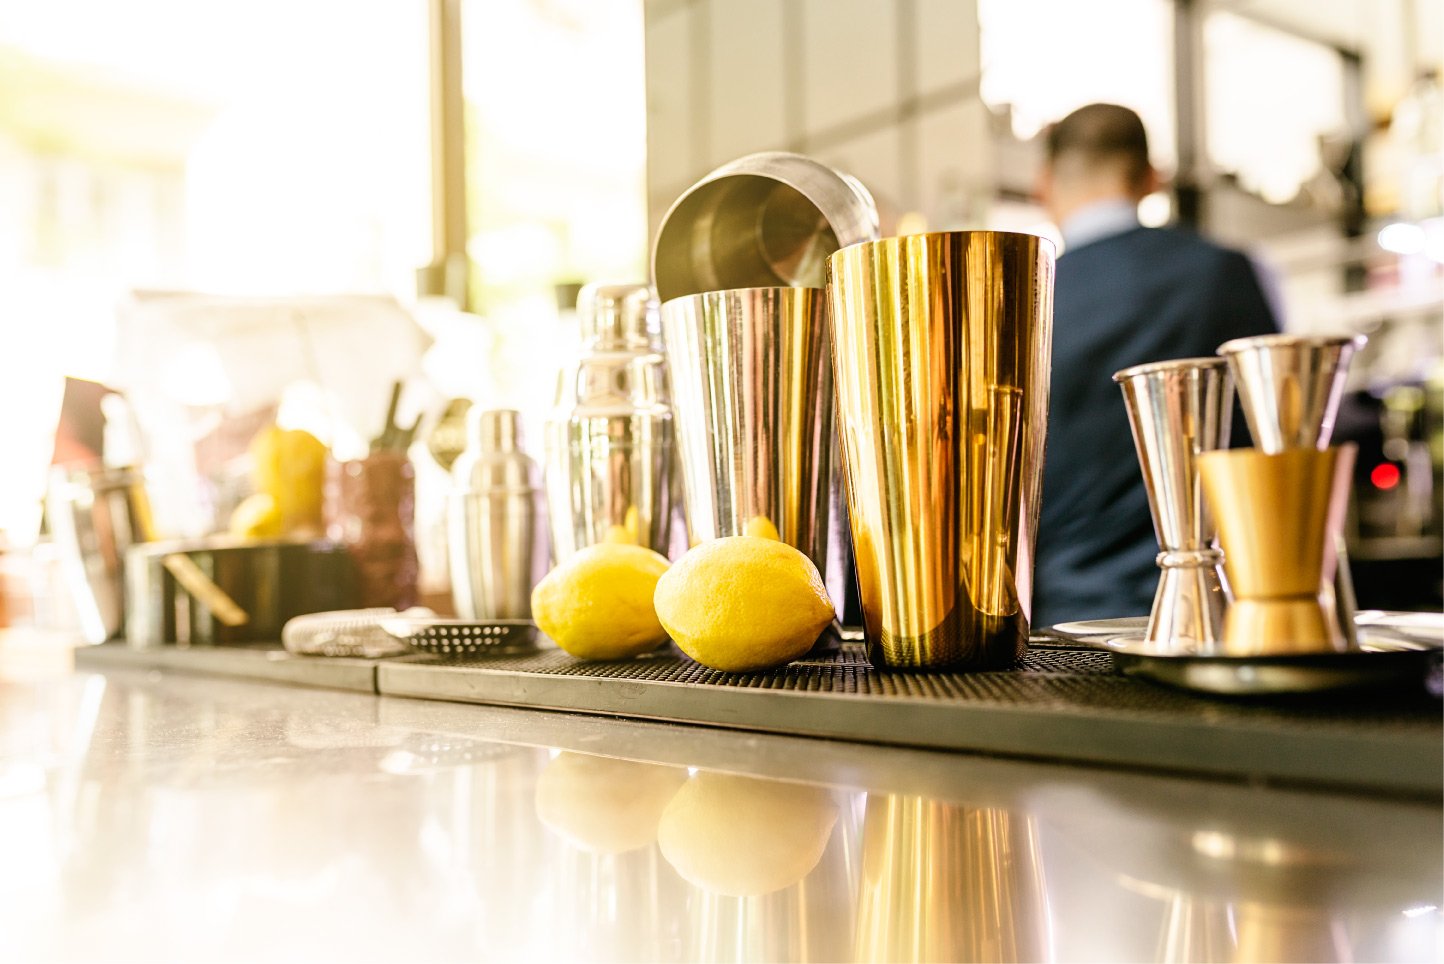
3. Boston Shakers
A Boston shaker is the name of the shaking tins you will find in most bars, and is the type of shaker I would recommend. Cobbler shakers are also commonly used, however I always encounter problems with them such as leaks or the metal cap covering the top getting stuck. The Boston shaker will consist of a large metal shaking tin (around 800ml capacity), with either a smaller tin or a glass which resembles a slightly smaller pint glass (around 450ml). The smaller shaker should fit inside the larger one securely.
If you’re just beginning to learn how to make cocktails, I would recommend using the glass to start with. It has the added benefit of you being able to see how much you are putting in accurately, which is harder to do with all metal shakers. This is good when learning to free pour (not using jiggers) as you can roughly see if you have put enough ingredients in.
If you feel like you’re really getting the hang of making cocktails I would then say to invest in a smaller metal tin. I prefer using these over glass, as they are sturdier and because metal conducts changes in temperature more efficiently. This means that it will help to cool the drink down quicker, minimising the time you need to shake, which in turn will minimise dilution.
Whichever one you choose, you should always build the cocktail in the smaller of the two. If making one cocktail, you should then fill the smaller shaker all the way with ice. If you are making more than one, fill the larger one with ice, then pour the ingredients from the smaller tin into it. Once everything is together, hold the tins vertically and firmly tap the base of the top tin to keep it firmly in place.
Shake with the smaller tin facing towards you, so if anything spills it’s not going all over anyone who may be in front of you. You should shake moving back and forward from your shoulder, for about 10 seconds.
A Boston shaker can also be used for stirring drinks, although most bartenders prefer a fancy looking mixing glass. Simply add all the ingredients into the tin, and stir with ice using a bar spoon.
4. Hawthorne strainer
This strainer consists of a handle attached to a flat plate with holes in it. It will also have an attachment for a spring which will run all the way along the edge of the plate, as well as often have some sort of lip which curves towards the spring to help keep it in place. It is designed to fit onto a Boston shaker, with the spring on the inside to help adjust the position in which it is resting.
It is used to stop larger chunks of ice and solid ingredients from getting into the drink, and can be used on it’s own when straining into a cocktail that will be served with ice in the glass.
The spring should be detachable, and can be taken off and added to shaking tins with egg whites with no ice, and shaken hard to create a large amount of foam.
5. Tea Strainer
This is a long handled strainer with what resembles a steel fishing net at the end. It should have a fin mesh and be fairly deep. It should be used in conjunction with a Hawthorne strainer, being held in between the Hawthorne and the serving glass. It acts to catch smaller pieces of ice and fruit, and should always be used when creating a drink served with no ice.
6. Bar Spoon
The bar spoon is a tea spoon with a long, spiralled handle with a flat disc at the other end. It can be used for stirring drinks, measuring, muddling, and controlling the speed of pouring. The spoon usually measures either 0.5cl or 1cl, and is useful for measuring such things as the amount of vermouth added to a martini.
On the other end you will find a flat disc. This can be used to muddle, but is most often used for stirring and pouring. When stirring a cocktail, you will find that using the disc end will give a much smoother motion than the spoon, which means you can control dilution more. It can also be used for muddling ingredients such as for a mojito, although I would recommend a muddled for this instead.
This disc can be used in conjunction with the spiral shaft as a means of controlling the flow rate when pouring a liquid. This is useful in cocktails containing sparkling wine, or when tarnishing with double cream. Hold the disc just above the liquid in the glass, and gently pour from about half way down the shaft. The spiral pattern should direct the liquid around the shaft and slow it down, while the disc should spread the liquid out evenly across the surface. This will prevent creating too many bubbles in the case of sparkling wine, or cream dropping below the surface and mixing in with the drink.
7. Muddler
As mentioned above, you can use a spoon to muddle, although many sets will come with a muddler and we recommend using one. You should get one made of either plastic or metal, avoid wood as tends to get a bit gross and mouldy after repeated use. You can either get a muddler with a flat base, or one with ‘teeth' at the end, either will work fine as long as you use it right. Bear in mind that the one with teeth can be a bit of a pain to clean, but can break down tougher fruit quicker.
The muddler, funnily enough, is used to muddle fruit. This technique is commonly used in mojitos, with the main aim to break apart pieces of fruit to get the juices out and to make it mix in more efficiently with the drink.
The best way to use it is to add all ingredients, both solid and dry, to the bottom of a glass or mixing tin (depending on the drink). You then want to place the muddler on the fruit, and push down firmly a few times, ensuring all the fruit has been broken up. You don’t need to bash it or muddle particularly hard.
8. Mexican Elbow
This is a piece of equipment you most likely won’t get in a set, but can really come in handy for making cocktails. We always recommend using fresh ingredients, especially in regards to lemons and limes, and using a Mexican elbow is the easiest way of getting the juice out of these fruits. The best way to use it is to cut the fruit in half around it’s equator, and place this half in the dipped part, with exposed juicy flesh facing the area with holes in it. Then squeeze the two parts together, making sure the holes are facing where you want the juice to go.
Snowdonia Distillery
Blackmarsh road,
Mochdre,
LL28 5HA
Email: sales@snowdoniadistillery.co.uk


